Search This Blog

Showing posts with label Kitchen Basics. Show all posts

Thursday, October 22, 2020

How to cook Quinoa in Instant pot & stovetop?

Category: Kitchen Basics
Preparation Time: 5 mins  
Cooking Time: 15 mins

What is Quinoa?
Quinoa (pronounced KEEN-wah) is one of the world’s most popular health foods.


Quinoa is gluten-free, high in protein and one of the few plant foods that contain sufficient amounts of all nine essential amino acids. It is also high in fiber, magnesium, B vitamins, iron, potassium, calcium, phosphorus, vitamin E and various beneficial antioxidants. 
Surprisingly, there are over 120 different varieties of quinoa as defined by the Whole Grains Council. Though the grain itself can manifest in a wide variety of colors (including purple!), the most common quinoa colors found across American grocers are white (also considered ivory or yellow quinoa), red, and black.
Interestingly enough, all three of these quinoa types cook and taste differently. While white quinoa has a fluffy post-cook texture, red and black quinoa are known to keep more of their shape and color after cooking. Red quinoa also has a heartier taste and chewier texture than the muted, bitter taste of white quinoa, while black quinoa tastes somewhat crunchy and slightly sweeter than either red or white.

Why to rinse Quinoa before cooking?

Quinoa is a healthy grain that we can incorporate into a variety of different dishes. There is a coating on quinoa seeds that can give it a bitter and nutty taste. By using a fine mesh strainer or a sieve, we can avoid this bitter taste by thoroughly rinsing your quinoa first. Many pre-packed quinoa are pre-washed but it's better to rinse it again.

Cooking Quinoa in Stovetop:

Ingredients:

  • Quinoa, washed -1 cup
  • Water -  2 cups
  • Salt - a pinch (optional)

Thursday, January 19, 2017

Garam Masala Powder

Category: Home made Powder
Preparation Time: 10 to 15 mins  
Cooking Time: 5 to 8 mins
Servings: yields around 1 cup


Home made Garam Masala

Garam masala: (
garam ("hot") and masala (a mixture of spices)) is a blend of ground spices common in India and other South Asian cuisines. It is used alone or with other seasonings. The word garam refers to "heating the body" in the Ayurvedic sense of the word, as these spices are believed to elevate body temperature in Ayurvedic medicine. 
(Source: Wikipedia)


The ingredients of garam masala differs regionally and also as per personal taste. I used to prepare garam masala at home since the store bought ones are on spicier side. So this one is a mild garam masala with just the basic ingredients.

Ingredients: 
  • Coriander seeds- 1 cup
  • Shahi Jeera - 1 tbsp
  • Pepper -1 tbsp
  • Cloves -1 tbsp
  • Fennel seeds - 1/2 tbsp
  • Bay leaf - 1 medum sized
  • Cardamom seeds - 1 tsp or 5 to 6 pods
  • Cinnamon, 1 inch sticks - 4 nos
Method:
  1. Dry Roast the coriander seeds in low heat for 5 mins
  2. Then add the remaining ingredients and roast for 2 mins in very low heat
  3. Switch off and allow to cool down
  4. Grind to a fine powder (Sieve and powder it again). We can use the coarse grits for making masala tea:)
  5. Store it in an airtight container to retain the freshness

Wednesday, November 9, 2016

Briyani Masala Powder

Category: Home made Powder
Preparation Time: 5 mins  
Cooking Time: 15-20 mins
Servings: yields around 1/2 cup

Home made powders are always special. Briyani made with home made masala are flavourful and tastes great. This recipe suits our taste so nowadays am using this. Make sure to roast the ingredients one by one in low flame or else certain spices will get burnt fast which affects the flavor of the podi. If we are having, kalpasi, we can add a couple of it. I usually add 1 to 1.5 tsp of this powder per 1 cup of Rice.

Briyani Masala Powder
Ingredients: 
  • Coriander seeds- 1/4 cup
  • Shahi Jeera/ Cumin seeds - 2 tbsp
  • Fennel seeds - 1 tbsp
  • Bay leaf - 1 no
  • Star anise - 2 nos

Tuesday, September 20, 2016

Home made Sambhar Powder (with coconut)

Category: Home made Powder
Preparation Time: 5 mins  
Cooking Time: 15-20 mins
Servings: yields around 1 1/2 cups
Home made Sambhar Podi

Home made powders are always special. Usually I would prepare Sambhar with freshly roasted and ground masala (Arachuvitta sambhar). This time I prepared sambhar podi at home so that I can also use it for quick sambhar, stir fries and mixed rice varieties too:) This powder is so flavourful and since I dont want it to be spicy, I had reduced the amount of chillies. Make sure to roast the ingredients in low flame or else certain spices will get burnt fast which affects the flavor of the podi.
Ready to Grind...
Ingredients: 

  • Coriander seeds- 1 cup
  • Channa Dhal- 1/4 cup
  • Dry Red chillies- 10 - 20 nos (adjust as per spice level)
  • Cumin seeds-  2 tbsp
  • Pepper- 1 tbsp
  • Fenugreek seeds-  1 tsp
  • Mustard seeds - 1 tsp
  • Curry leaves -  3 springs
  • Dry coconut gratings- 1/4 cup
  • Cinnamon stick - 4 small pieces
  • Turmeric powder -1 tsp
  • Asafoetida - a generous pinch
Method:

  1. Dry Roast the curry leaves in low flame for 2 mins until it becomes slight crispy
  2. Add the coriander seeds to the pan and roast for few mins until it gets roasted well and we get a nice aroma; By then the curry leaves would have become crispy. Transfer them to a plate
  3. In the same pan, add the channa dhal and roast in low flame until it turns glden brown; once done transfer it to the plate
  4. Dry roast the fenugreek and mustard seeds for a min till the fenugreek seeds gives out nice roasted aroma and then transfer to the plate
  5. Dry roast the cinnamon sticks, cumin seeds and pepper for a min and transfer it to the plate
  6. Roast the dried red chillies until they become crispy; transfer it to the plate
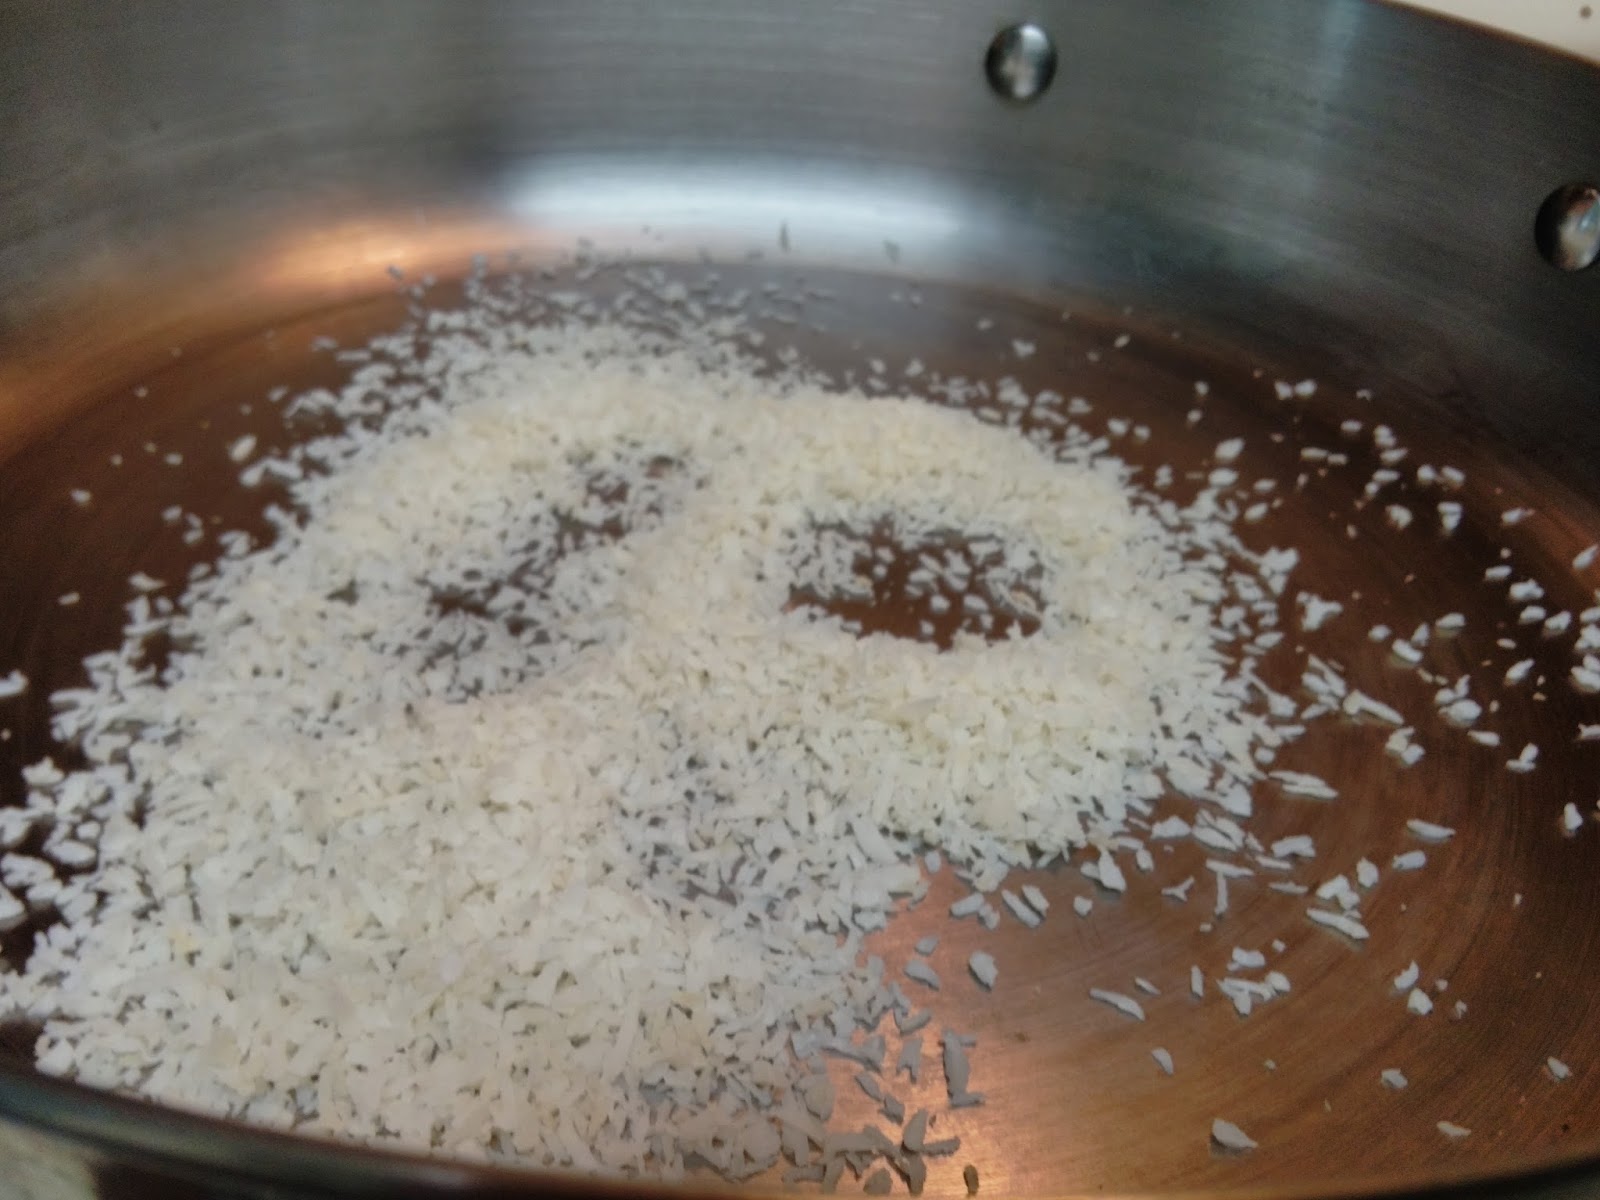
  7. Add the dry coconut to the pan and switch off the stove; roast it until it starts to turn golden brown. Heat of the pan would be enough for it and then add to the other ingredients in the plate
  8. Finally add in the asafoetida and turmeric powder (If using solid asafoetida we can even roast it for few secs and add)
  9. Once the roasted spices cooled down, add it to the mixer jar and grind it to a powder
  10. Since I used my blender, its a bit coarse powder
  11. Spread it in a plate for about half an hour and then transfer to an airtight container
  12. Store it in a cool and dry place
  13. We can use it for Sambhar, Sambhar Sadham, Kuzhambu, vegetable stir fries and rice varieties
    So flavourful....


Tuesday, June 21, 2016

How to freeze pre-soaked dried legumes?

Category: Kitchen Basics / Tips


How I started to freezing legumes? At times, I want to do Channa Masala for dinner  or I need only small amount of beans to be added for our south Indian Kuzhambu varieties; but would not be having soaked beans in hand. Also I am not a person who will use the canned beans varieties. So I started soaking them and freeze for later use. Mostly I will freeze and use them within 1-2 weeks but I guess we can keep for a month also. If we have left over cooked beans, we can freeze that too and use within 1-2 weeks.

What are the legumes I used? So far I had tried this method with the dried legumes such as White Channa, Brown Channa, Rajma / Kidney Beans, Red Chori  / Thatta payarau, Val Beans, Green Peas, Yellow Peas, Whole Green Gram, also Green Gram sprouts

This will also help the working people who wants to prepare a protein rich meal but didnt thought of soaking the legumes prior. 

  • Plan: Need to plan what are the legumes we would need for the next 1-2 weeks
  • Soak: Measure; wash and soak them separately for overnight (preferable on a Friday / Saturday night for working Moms)
  • Drain: Next day morning, drain the water completely (we can also wash them) and allow to stand in a strainer for around an hour to remove all water

  • Freeze: Transfer the legumes to freezer safe boxes / ziplock covers and freeze them

  • Cooking: Whenever we need, we can take out required portion and cook as usual. Personally I feel, frozen legumes take a bit lesser time than their regular cooking time

Friday, June 3, 2016

Home made Pasta / Pizza Sauce

Category: Pasta Sauce 
Preparation Time: 10 mins       
Cooking Time: 20 mins      
Servings: yields around 1 cup

Pasta / Pizza Sauce
 Ingredients:
  • Ripe Tomatoes - 3 nos
  • Red Capsicum - 1 no (Can be reduced to 1/2)
  • Small Onion, finely chopped - 5-6 nos
  • Garlic, finely chopped - 5-6 cloves
  • Olive Oil - 1 tbsp + 1 tsp
  • Sugar - 1 tsp
  • Salt - to taste
  • Pepper Powder - 1 tsp
  • Italian Seasoning - 1/2 tbsp (can be replaced with Oregano / Basil leaves)
  • Water - around 1/3 - 1/2 cup
Method:
  1. Wash the tomatoes and make a slight slit across the tomatoes for easy peeling. Add around 2 cups of water  in a vessel and bring it to boil. When it starts to boil, add the tomatoes and wait for 1-2 mins till the skin started to break off. Then remove the tomatoes using a spoon and place it in a bowl. Then remove the skin off and allow to cool down
  2. Wash and chop the Red capsicum into cubes. Heat 1 tsp of Oil in a pan and add the capsicum cubes and saute for few mins till it gets roasted well, then remove from the stove and allow to cool down
  3. In a blender / mixie jar, add the blanched tomatoes and roasted capsicum cubes and grind to a fine puree without adding any water
  4. In a sauce pan, add 1 tbsp of Olive Oil and heat it up, then add finely chopped onions followed by finely chopped garlic pieces and saute well until they turned golden brown
  5. Then add the tomato-Capsicum puree into it and cook in medium flame for 3-4 mins
  6. Now add around 1/3 - 1/2 cup of water to it and mix well; bring it to boil
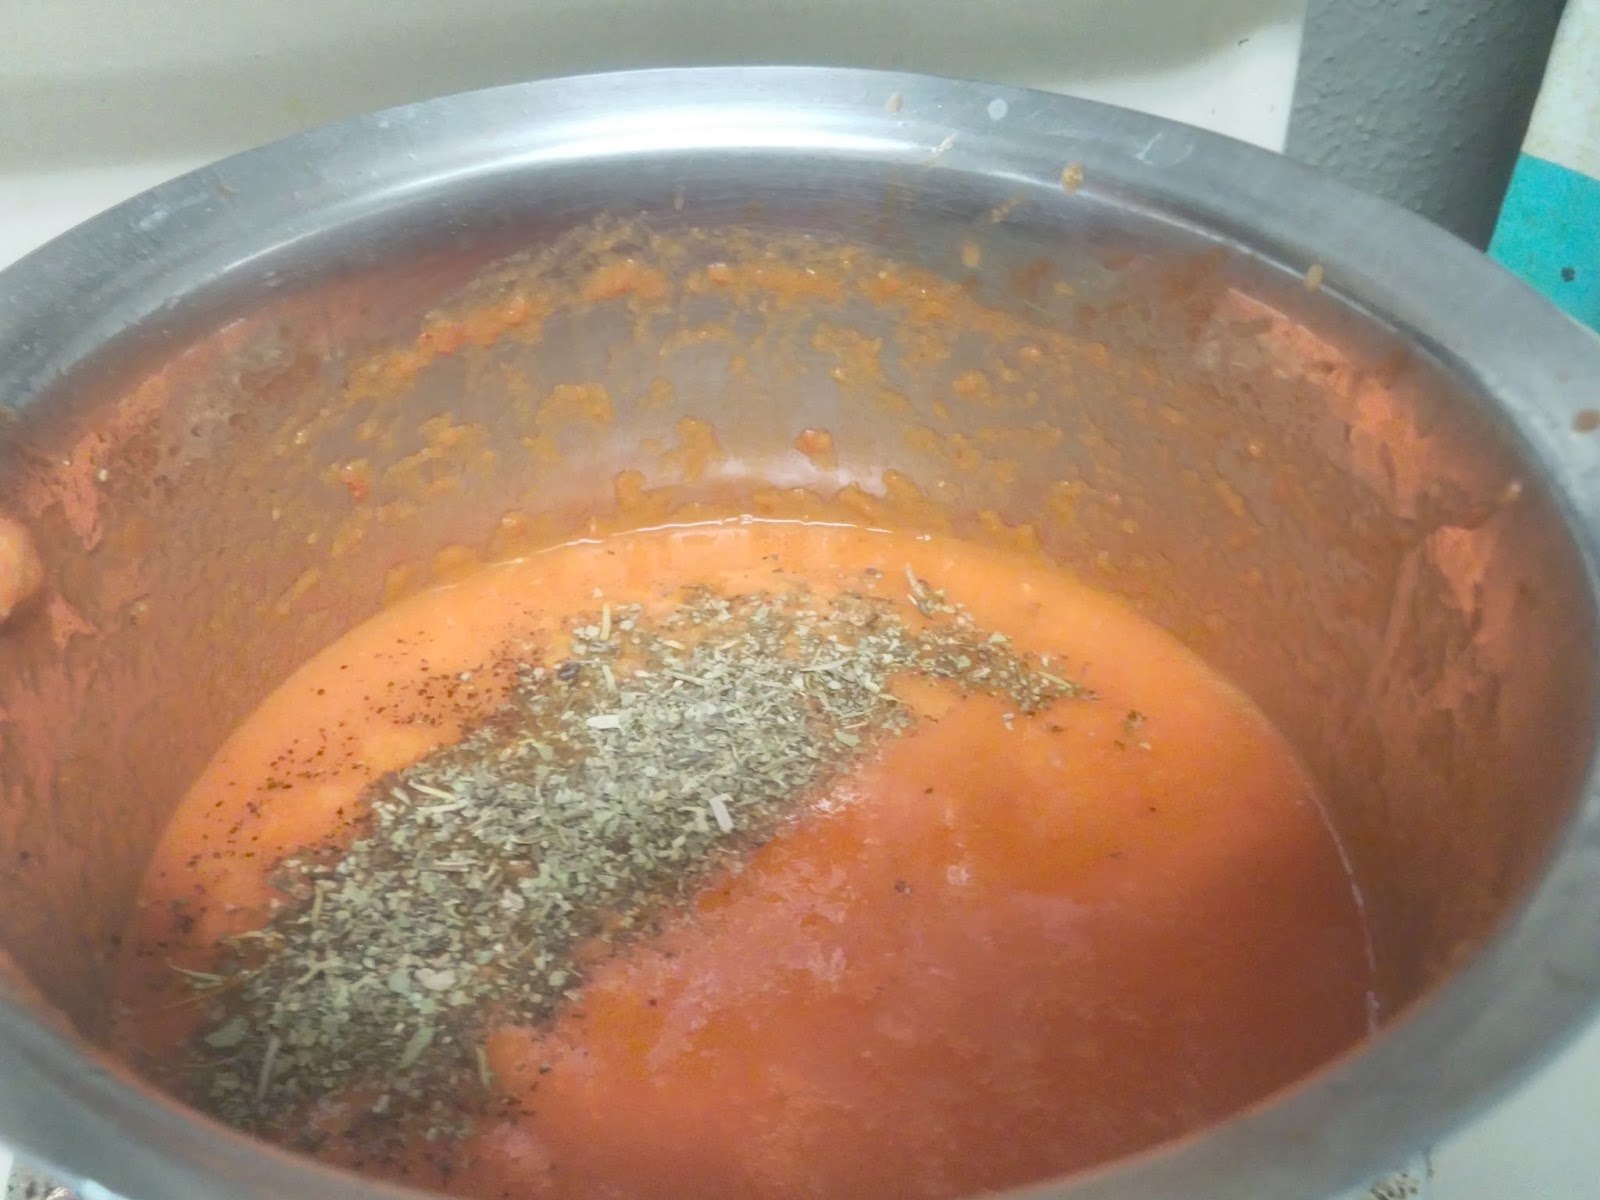
  7. Once it starts to boil, add Sugar, Salt, Pepper powder and Italian seasoning
  8. Allow it cook in low flame for another 5-7 mins till it reaches the sauce consistency
  9. Once its done, remove from the flame and use as required
  10. If storing, we can transfer into a airtight glass container after it gets cooled down and store it in refrigerator for atleast a week or upto 10 days

Tuesday, May 31, 2016

How to keep Coriander & Mint leaves fresh for long?

Category: Kitchen Basics / Tips
On Day 1

After 2 weeks in Refrigerator
I tried different methods for keeping the coriander & mint leaves fresh for long inside refrigerator such as

  • Wrap it in paper towel 
  • Wrap it in foil
  • Place inside ziplock covers
  • Placing inside plastic boxes
All of the above worked fine but only for few days. But the below Option really helped me and by this method I am even keeping them fresh for atleast 2 - 3 weeks.

Things Required:

  • Glass or Plastic container / jar
  • Plastic bags or ziplock bags
  • Water - as needed
Method:
  1. I prefer long glass tumbler for coriander leaves and small cup for mint leaves. Glass or trasnparent containers are recommended so that we can see the water level and clarity 
  2. After buying the leaves from shop, just shake it gently to remove any water on them and cut off about 0.5 - 1 cm of the edges in the stem part 
  3. Fill the container with water to a level till the stem portion gets immersed
  4. Place the coriander / mint leaves in the container
  5. Loosely cover the leafy portion with a plastic cover or a ziplock cover, we can keep it in place with a help of rubber bands
  6. Keep it in refrigerator
  7. Check for water level and colour each day or every 2 days
  8. It is  advisable to change the water every 2-3 days to retain the freshness

Friday, May 20, 2016

Home made Paneer


Category: Kitchen Basics
Cooking Time: 20 mins

Home made Paneer
Paneer is one of the most favourite among the kids. We can use paneer in gravies, stir fries, parathas, pizza, Dosa, Stuffed Buns, Pastries, Options are endless. Also making paneer at home is not a hectic process and once we start making it we would never go back to the store brought ones.

Also if we prefer, we can add little salt and spices as per our liking to make spiced paneer cubes. We can make paneer either with curd or lemon juice. I prefer making with curd since it will give more volume and also will be so soft. While making with lemon juice, we might need to wash the paneer soon after draining it from whey to remove the lemon flavour.
Super soft!!!!

One important thing is we need to drain all water from the paneer or else it will become soft and crumbly; if we want to use for any snack items or for parathas we can use that one. For more firm paneer, we need to make sure there are no water left behind in the paneer.
Soft & Fresh Home made Paneer

Ingredients:

  • Full fat Milk - 4 cups
  • Curd - 1/2 cup or juice from 1 big lemon
Method:
  1. Heat the milk in a wide pan and bring to boil
  2. Once it starts to boil, reduce the flame to medium and add 1/4 cup of curd (or half of  the lemon juice) and mix well
  3. Milk will start to curdle; then add the remaining curd (or lemon juice) and reduce the flame to low 
  4. Gently stir until the milk solids (paneer) gets separated leaving the clear whey water 
  5. Switch off once the whey water becomes clear and milk solids get separated
  6. Place a muslin cloth or any thin white cloth over a wide bowl and pour the curdled milk over it to filter the whey water from the milk solids. We can also strain using fine holed strainer (while pouring hot, we need to use stainless steel strainer. In the pic below, I had placed the cooled paneer) and then place it in white cloth. Whey water can be used for chapathi dough. (If using lemon juice, we might need to wash the paneer after draining)
  7. Squeeze the excess water and hang it for 1-2 hrs undisturbed
  8. Then flatten it and place a heavy weight like a heavy tawa / cooker over the paneer and left undisturbed for another 2 hours
  9. After 2 hrs, we can refrigerate it for minimum one hour so that we can get clean neat pieces while cutting into cubes
  10. Then we can cut into cubes and use in our recipes
  11. If we are not using it right way or within 1-2 days, we can also freeze them in freezer and use when needed 
    Home made Paneer Cubes
  12. If there is any water left in paneer, it will become crumbly and in that case we can use it for recipes which needs soft / grated paneer